Add and set up a branch
Go to Settings › Branches and press Add branch. Pin it on the map, fill in the name, address and phone, set the hours and whether it does pickup and delivery, then press Add branch.
Updated 20 November 2026Where to find it
- Settings
- Branches
- Control Center
- Branches
You need: Only the store owner can add or delete branches. Staff with Branch settings can edit their branches. The number of branches depends on your plan.
A branch is a place that prepares orders. Every store needs at least one before it can take orders. Delivery orders go to the nearest branch that delivers to the address, and pickup customers choose a branch.
Add a branch
- 1Open BranchesGo to Settings › Branches in the web dashboard, or Control Center › Branches in the Admin app, and press Add branch.
- 2Pin it on the mapPlace the pin where the branch is. Use Edit coordinates to type the latitude and longitude instead.
- 3Add the detailsEnter the Branch name, Phone and Address. Optionally paste a Google Business Profile link; pickup customers see Find us on Google.
- 4Set the VAT rate (optional)Leave VAT rate empty to use the store's rate. Set one if the branch is in a region with its own rate.
- 5Choose the statusActive takes orders. On hold stops new orders for this branch only.
- 6Set the hoursChoose Same hours every day, Always open, or hours per day. See branch opening hours.
- 7Choose pickup and deliveryUnder Orders, switch on Pickup and Delivery as needed. Display order sets where it appears in lists (lower numbers first).
- 8Save, then draw delivery areasPress Add branch. Then open it again and add its delivery areas: see draw delivery areas.
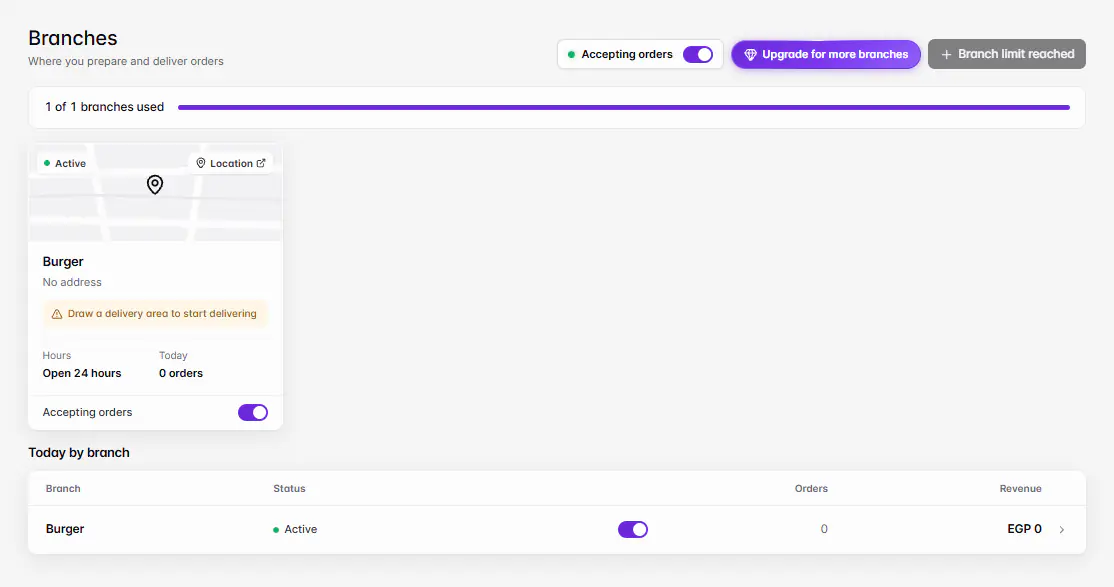
Branch statuses
| Status | Meaning |
|---|---|
| Active | Shown to customers and taking orders. |
| On hold | Shown, but not accepting new orders. See pause orders. |
| Turned off | Customers don't see this branch. |
| Over limit | Above your plan's branch limit. It can't be edited until you upgrade or turn another branch off. |
Change a branch's status from the status pill in the branch list. Delete branch can't be undone: customers stop seeing it and its past orders keep their branch.
If something goes wrong
The messages you might see, and what to do.
Only the store owner can add branches.
Ask the owner to add it. Staff can edit branches they have access to.
You've reached your branch limit. Upgrade your plan to add more branches.
Upgrade in Settings › Plan & usage, or delete a branch you no longer use.
Active branch limit reached. Disable another branch first.
Turn another branch off before making this one Active.
This branch is over the current limit and can't be edited.
Upgrade your plan or turn another branch off.
Use a Google Maps or Business Profile link (https).
In Google Maps, tap Share, then Copy link, and paste it.
Enter a valid latitude and longitude
Latitude is between -90 and 90, longitude between -180 and 180.